摘抄整理自:《Mastering Shiny》 中的第7章 "User feedback"
为了让用户对于shiny app正在运行的功能有更好的了解,我们希望能以message或者其他输出形式对其进行说明解释,这个是属于Feedbac
作者将Feedback分成以下几个形式:
- validation
- notification
- progress bars
- confirmation and undoing
我对于其中validation和progress bars比较感兴趣,主要是这两者涉及到2个实用的shiny拓展包:shinyFeedback和waiter;另外两个形式则简单略过
Validation
Validation是指当某个输入处于无效或者会引起程序错误的时候通知用户
最常见处理这种情况的方法应该是shiny官方文件推荐过的req(),可见Handling missing inputs with req(...);比如防止input为空时出现的error,我之前常用于upload文件fileInput(当还未输入upload文件时,不执行后续code)
还有一种方式则是用validate函数,搭配need函数可以实现类似于req()的功能,具体可看?validate的使用文档
这篇文章的作者推荐另外一种visual的方法:shinyFeedback包,展示形式如下

安装并查看说明文件:
remotes::install_github("merlinoa/shinyFeedback", build_vignettes = TRUE)
browseVignettes(package = "shinyFeedback")
可用于UI组件有:
- shiny::textInput()
- shiny::numericInput()
- shiny::selectInput()
- shiny::dateInput()
- shiny::selectInput()
- shiny::sliderInput()
- shinyWidgets::pickerInput()
一般用法,在ui端加载useShinyFeedback(),在server端通过if判断某个条件下,用showFeedback()函数指定特定ui组件上显示message;如果需要在特定条件下show/hide message,则可以用showFeedback()和hideFeedback()函数
library(shiny)
library(shinyFeedback)

ui <- fluidPage(
  useShinyFeedback(), # include shinyFeedback

  textInput(
    "myInput",
    "Warn if >3 characters",
    value = ""
  )
)

server <- function(input, output, session) {
  observeEvent(input$myInput, {

    if (nchar(input$myInput) > 3) {
      showFeedbackWarning(
        inputId = "myInput",
        text = "too many chars"
      )
    } else {
      hideFeedback("myInput")
    }

  })
}

shinyApp(ui, server)上述例子可看出,我们是以Warning的方式(showFeedbackWarning)来展示message;还有另外一种方式通过feedback function来反馈信息,如有:feedback(),feedbackWarning(),feedbackDanger()以及feedbackSuccess()
以feedbackWarning()为例,改写上述代码,其他函数调用方法类似
library(shiny)
library(shinyFeedback)

ui <- fluidPage(
  useShinyFeedback(), # include shinyFeedback

  textInput(
    "myInput",
    "Warn if >3 characters",
    value = ""
  )
)

server <- function(input, output, session) {
  observeEvent(input$myInput, {
    info <- nchar(input$myInput) > 3
    feedbackWarning(
      inputId = "myInput",
      show = info,
      text = "too many chars"
    )
  })
}

shinyApp(ui, server)如果想再custom点,可以更改color和icon参数来调整字体颜色以及message对应的icon
Notifications
Notifications是指向用户发送一些提示信息,将message在一个notification中显示,常用函数为showNotification(),另外还会通过搭配on.exit(removeNotification(id), add = TRUE)来实现当task完成后remove it
Shiny官方文件对此也做了一些介绍,可见:Notifications
Progress bars
Progress bars从字面上可理解,即进度条;主要用于一些long-run tasks,方便用户了解程序的进度以及还需要大致多少时间才能结束等等
有个progressR包,可在R程序中添加进度条代码,并在terminal显示,如:
pb <- progress_bar$new(
  format = "  downloading [:bar] :percent eta: :eta",
  total = 100, clear = FALSE, width= 60)
for (i in 1:100) {
  pb$tick()
  Sys.sleep(1 / 100)
}
显示的样式:
downloading [========----------------------] 28% eta: 1s在之前的一篇博文 R 多线程并行计算中提到
对于一些多线程R代码,foreach包搭配doSNOW包可以在foreach函数中用进度条
对于shiny程序而言,其也有自带的progress函数,例如之前的一篇博文 Shiny用法整理(一)提到的关于progress一些函数,shiny官方文件也对此做了介绍:Progress indicators
作者对于progress bar也介绍了另外一种visual方法,即waiter包
文档介绍可见:waiter
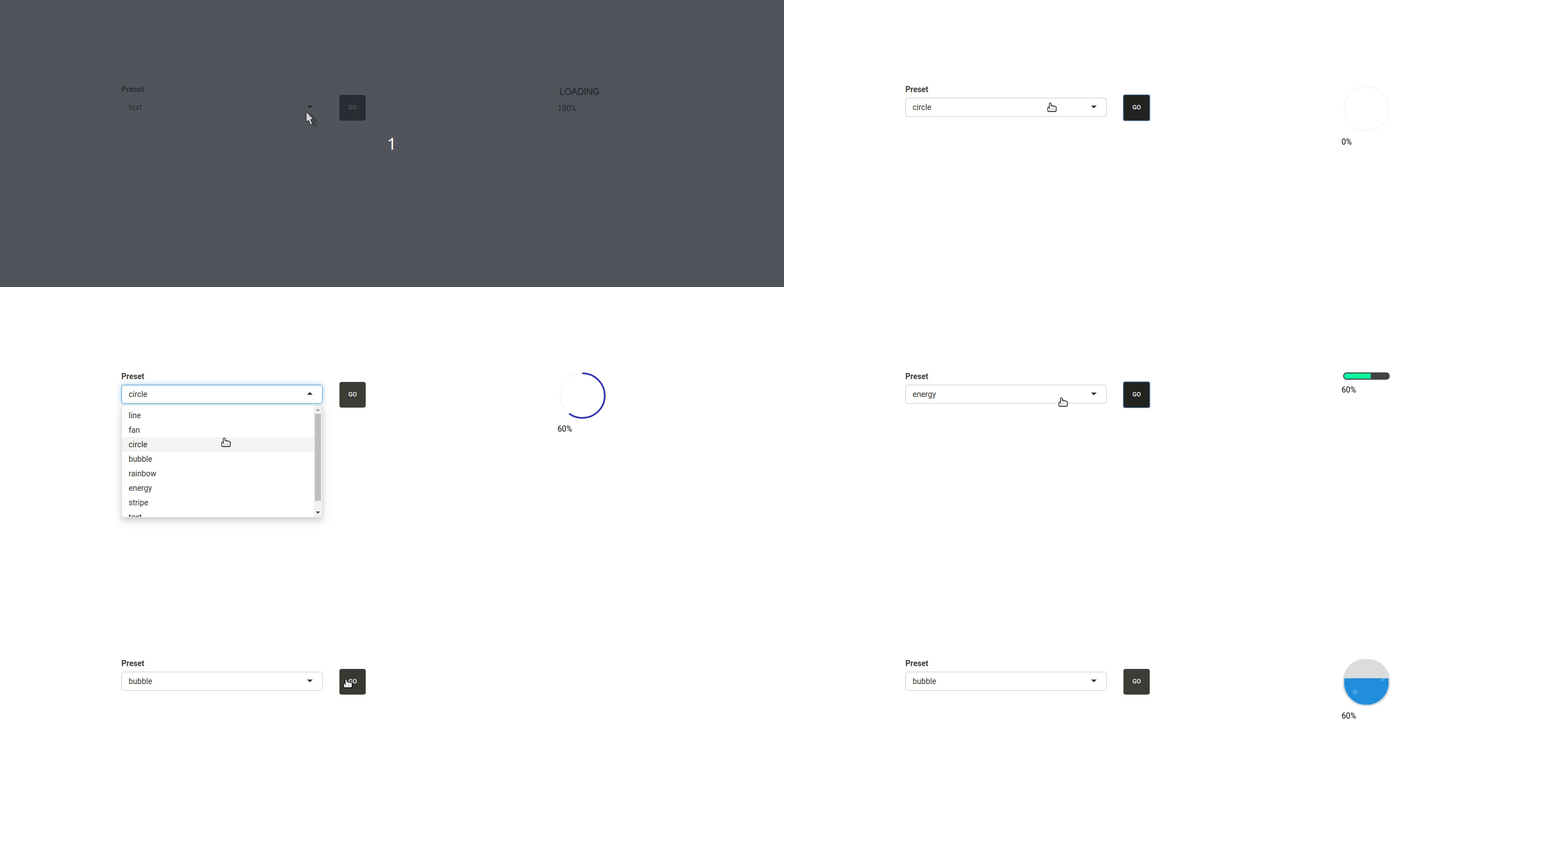
个人觉得这个是一个非常强大的shiny包,尤其是对像我这种对于前端不是很了解的人~并且其选择很多,从其文档中可看出,主要分为三类:
Waiter, lets you show splash loading screens

waiter Waitress, let you display loading bars on the entire screen or specific elements only

waitress Hostess, can be used on its own but you likely will want to use it with the waiter. The hostess brings loading bars to the loading screen: reflect the progress made in the back end.

hostess
具体example可参照其文档https://waiter.john-coene.com/#/get-started,写的非常详细
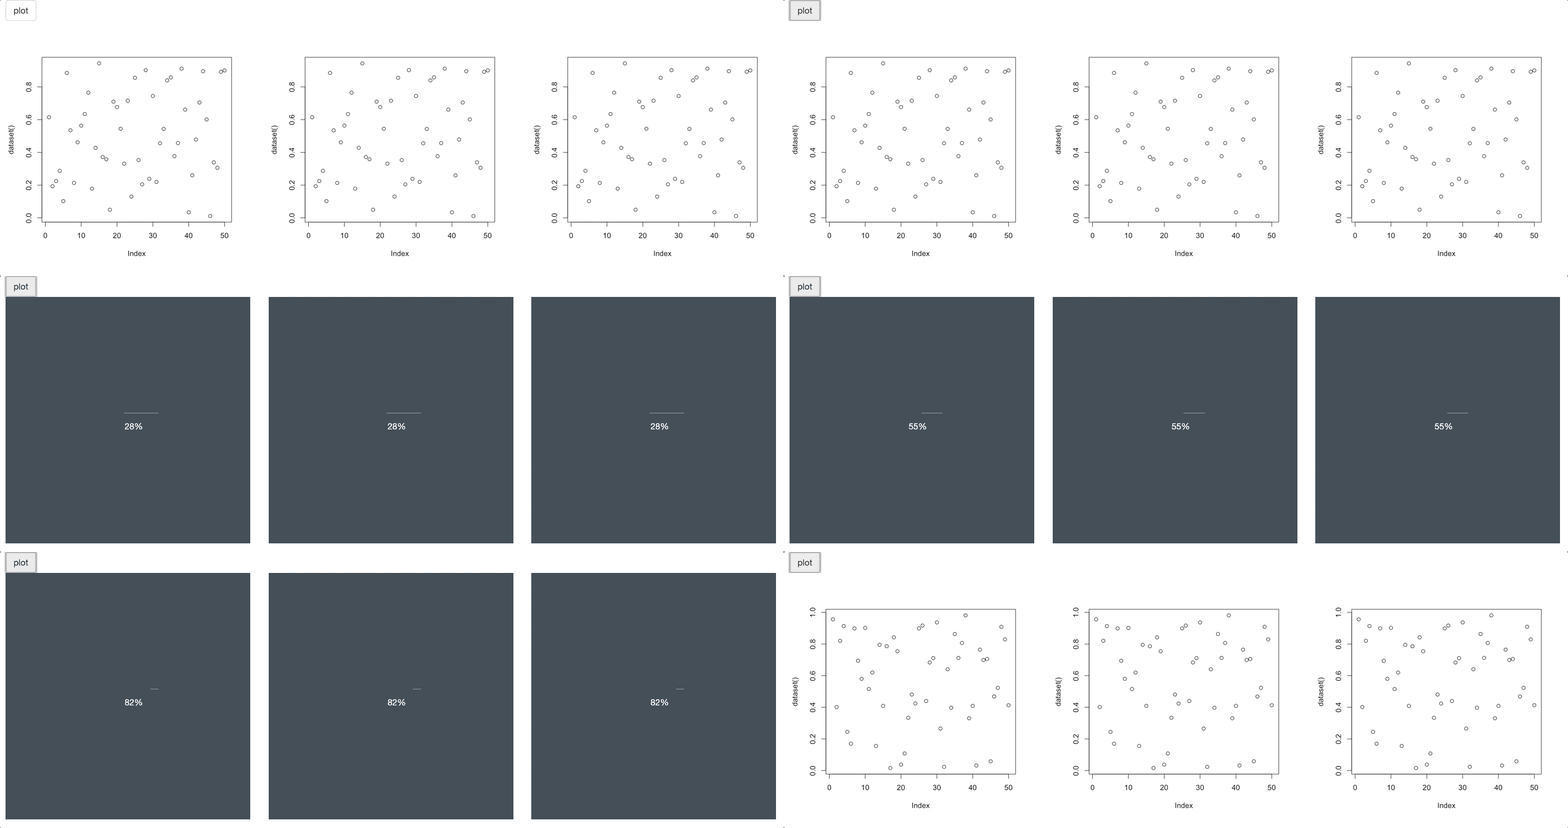
PS. 对于其他spinners,waiter包提供了多种选项,可在https://shiny.john-coene.com/waiter/中查看,测试代码如下,主要更改html的参数来确定spinners展示方式
library(shiny)
library(waiter)

x <- list(spin_circle(), spin_6(), spin_loaders(4), spin_loaders(32), spin_throbber(), spin_timer())

ui <- fluidPage(
  use_waiter(),
  selectInput("spinner", "Spinners: ",
              c("spin_circle" = 1,
                "spin_6" = 2,
                "spin_loaders(3)" = 3,
                "spin_loaders(32)" = 4,
                "spin_throbber" = 5,
                "spin_timer" = 6)),
  actionButton("draw", "draw plot"),
  plotOutput("plot")
)

server <- function(input, output){
  dataset <- eventReactive(input$draw, {
    # specify the id
    w <- Waiter$new(id = "plot", html = x[[as.numeric(input$spinner)]])
    w$show()
    Sys.sleep(3)
    w$hide()

    runif(100)
  })

  output$plot <- renderPlot(plot(dataset()))

}

shinyApp(ui, server)
Confirming and undoing
Confirming and undoing是指用户在使用过程中会产生一些错误的操作,shiny app为了确保用户对某次点击已确认,并且了解其预期产生的效果及风险,会提供一些提示框等UI
常见的方法是用shiny自带的modalDialog()函数,相关文档:Modal dialogs
在之前一篇shiny文章 Shiny Packages Resources 中提到过shinyalert,其是Dean Attali大神开发的shiny拓展包,用于生成messages modal,在某些方面比shiny自带的函数更加好用
本文的作者还提到使用一些延迟的手段来给用户提供一定的缓冲期,以及提供一个类似于回收站功能,具体可看原文:Confirming and undoing
Summary
作者将feedback拆分为4个方面,并对每个方面提供了解决方法,其中shinyFeedback和waiter包能避免shiny开发者过多cover到CSS/JS代码中,方便开发者们更快地设计shiny app,分析并展示数据。。。
本文出自于http://www.bioinfo-scrounger.com转载请注明出处